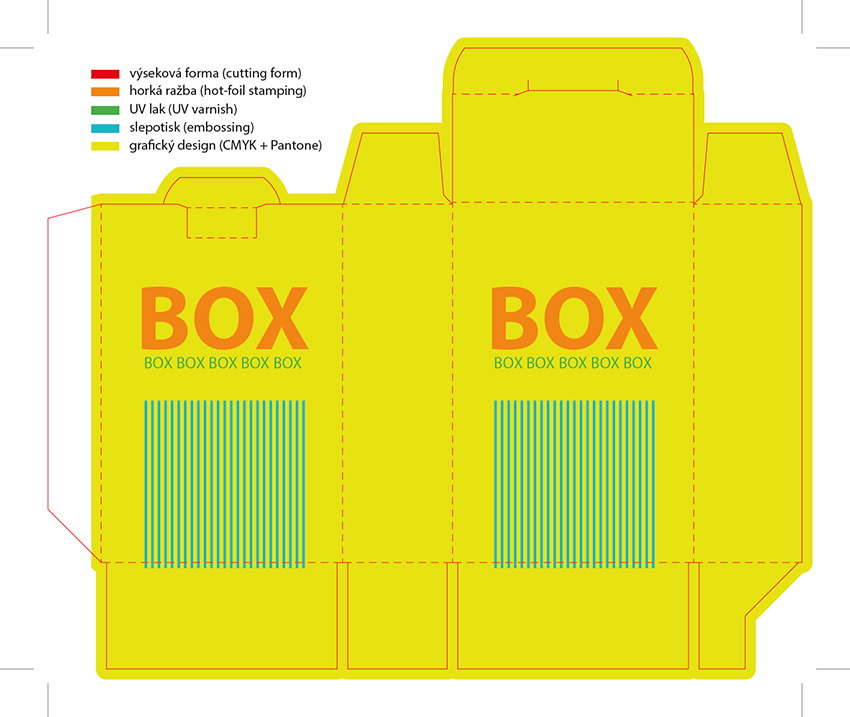
To produce a high quality final product, it is necessary to provide the print data according to the following rules:
- Use the TrimBox to define the intended dimension of the
finished page (the so-called “trimmed size”).
- The objects stretching to the edge of the trimmed size need
to extend beyond the trimming frame by at least 3 mm (bleed). Use the BleedBox to determine the size of the
bleed.
- Raster PDF images must be of sufficient resolution - 300 dpi
for offset printing (200 dpi is the minimum).
- Colors – for vector graphics and text, choose CMYK or spot
colors (Pantone). The PDF/X-1a standard allows only CMYK and Pantone, the
PDF/X-4 standard allows other color spaces.
However, for a safe handover, we recommend that you stay with CMYK and
Pantone.
- If you use color management in your document, always use the
PDF/X-1a and PDF/X-4 standards. Output
intent - for example: ISO Coated v2 (FOGRA39) or PSO Coated v3 (FOGRA51). For documents without color management, use
PDF version 1.3.
- Fonts – all fonts must be embedded.
- In the document, set the overprinting of inks exactly as
they are going to be in the print. We
automatically overprint objects that are in 100% black color.
- Always put the drawing of a die-cutting form in a spot color
into the data with graphics, preferably under the name die-cut.
- In the case of other finishing treatments (such as UV varnish, hot-foil stamping, embossing, etc.), insert graphics in a spot color with an appropriate name.
In the event that you are unsure about the correct procedure when preparing print data, do not hesitate to contact our prepress staff: [email protected] .
Data transport
Data up to 10 MB can be sent to [email protected] .
Use on-line service wetransfer.com for large amounts of data
(up to 2 GB).
